Executing a construction project in a healthcare facility requires a thorough understanding of how to properly implement an ICRA (Infection Control Risk Assessment) — a set of guidelines and practices specifically designed to minimize the risk of infection transmission during construction or renovation activities within healthcare settings.
As anyone with experience in healthcare construction knows, ICRA can seem daunting. That’s why we’ve put together this checklist to help guide you through the process.
What Is Considered in an ICRA?
As mentioned above, ICRA stands for “Infection Control Risk Assessment.” The purpose of an ICRA is to prevent and minimize the spread of infection, dust, and debris, all of which might cause harm to vulnerable populations during the construction process. With the use of ICRA, construction in healthcare settings can be performed safely, without posing a risk to patients or staff.
The original ICRA was introduced in 1996, but in 2020, the American Society for Health Care Engineering (ASHE) formed a team of specialists to evaluate the system for possible improvements. In 2022 ICRA 2.0 was released with updates, including expanded descriptions for better clarity.
The first three things that are considered when performing an ICRA are the type of activity, the patient risk level, and the proper class of precautions to be applied:
- There are four “types” of activity (A, B, C, or D), ranging from inspection and non-invasive activities to major demolition and construction.
- Patient risk levels can be Low, Medium, High, or Highest. Bathrooms that aren’t located in clinical units are considered Low Risk, for example, while oncology units are classified as Highest Risk.
- Based on the activity type and patient risk level, a particular “class of precautions” (I, II, III, IV, or V) is assigned to the project.
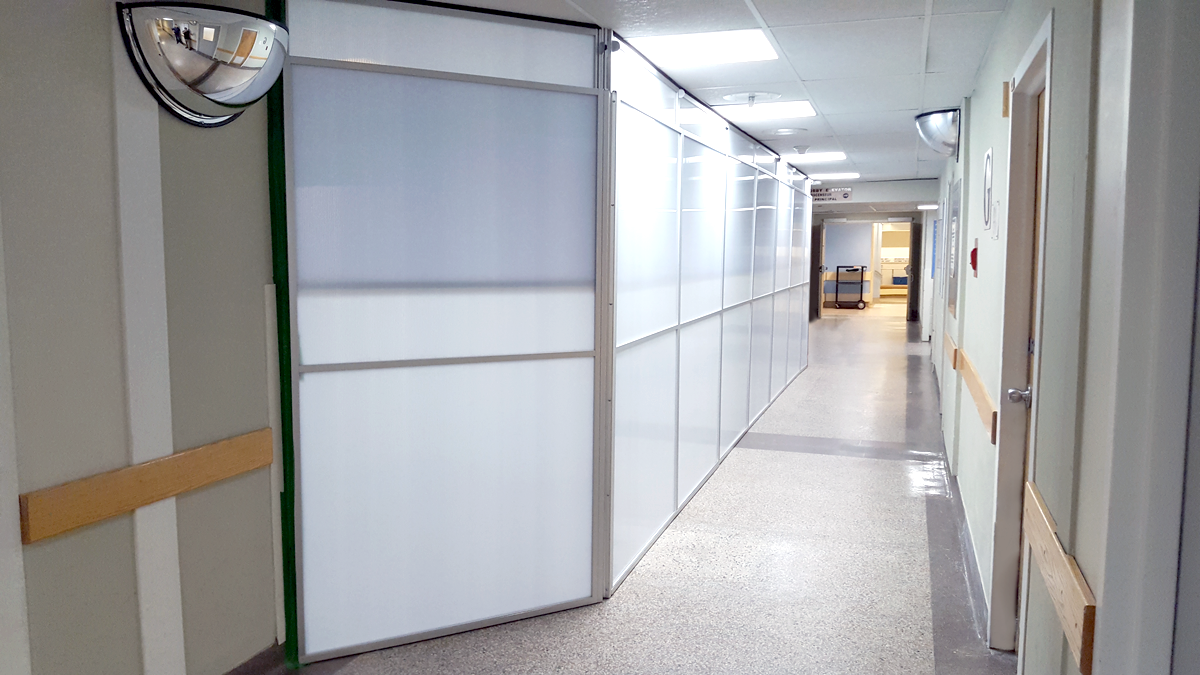
Once these factors have been determined, the contractor will be able to select the proper ICRA containment barriers for the project — ranging from simple plastic sheeting to high-performance modular wall systems .
The contractor then continues through the ICRA, working to complete further assessments, mitigation activities, and infection control during the construction project.
ICRA Construction Checklist
Whether or not an ICRA successfully mitigates the risk of infection and contamination depends heavily on how well it’s implemented. The following is a list of construction ICRA best practices. This ICRA construction checklist is meant to help guide both contractors and facilities managers through the ICRA process, ensuring important steps aren’t missed.
Step #1: Pre-Construction Planning
- Review project plans and timelines to identify which areas will require an ICRA.
- Obtain necessary permits and approvals for construction in healthcare facilities or occupied spaces.
- Set up an infection control committee or designate a qualified infection control professional.
- Review the facility’s infection control policies and procedures.
- Identify critical infrastructure and utility systems that need to be maintained during construction.
- Define the scope and timeline of the construction project.
Step #2: ICRA Plan Development:
- Using the first four steps of ICRA 2.0, develop a detailed ICRA plan that outlines specific infection control measures for each construction phase.
- ICRA Step 1: Establish the Activity Type ( A, B, C, D)
- ICRA Step 2: Identify the Patient Risk Group (Low, Medium, High, Highest)
- ICRA Step 3: Determine the correct Class of Precautions (I, II, III, IV, V)
- ICRA Step 4: Assess the Risk to Surrounding Areas
- Define containment zones for the project.
- Determine requirements for personal protective equipment (PPE) for construction workers and healthcare staff.
- Develop a communication plan to keep all necessary contacts informed of the construction progress and any potential risks.
Step #3: Incident Reporting and Response
It’s possible that every preventive measure implemented during the ICRA will go exactly as planned and every infection control tool will work perfectly, but it’s also possible that they won’t. It’s best to plan ahead and have a system in place to detect incidents and address them swiftly.
- Establish a process for reporting any infection control breaches or incidents.
- Develop a protocol for responding to any breaches or unexpected incidents.
- Respond promptly to any incidents that arise and implement corrective actions.
Step #4: Team Training
- Provide construction workers with infection control training.
- Ensure your team understands the importance of following ICRA healthcare facility construction guidelines.
- Train all construction workers on the proper use of personal protective equipment (PPE).
- Train healthcare staff on how to interact with the construction area safely.
Step #5: Traffic Control and Signage
- Establish protocols to control the movement of personnel and equipment in and out of construction zones.
- Establish clear signage for construction areas and infection control requirements.
Step #6: ICRA Barriers:
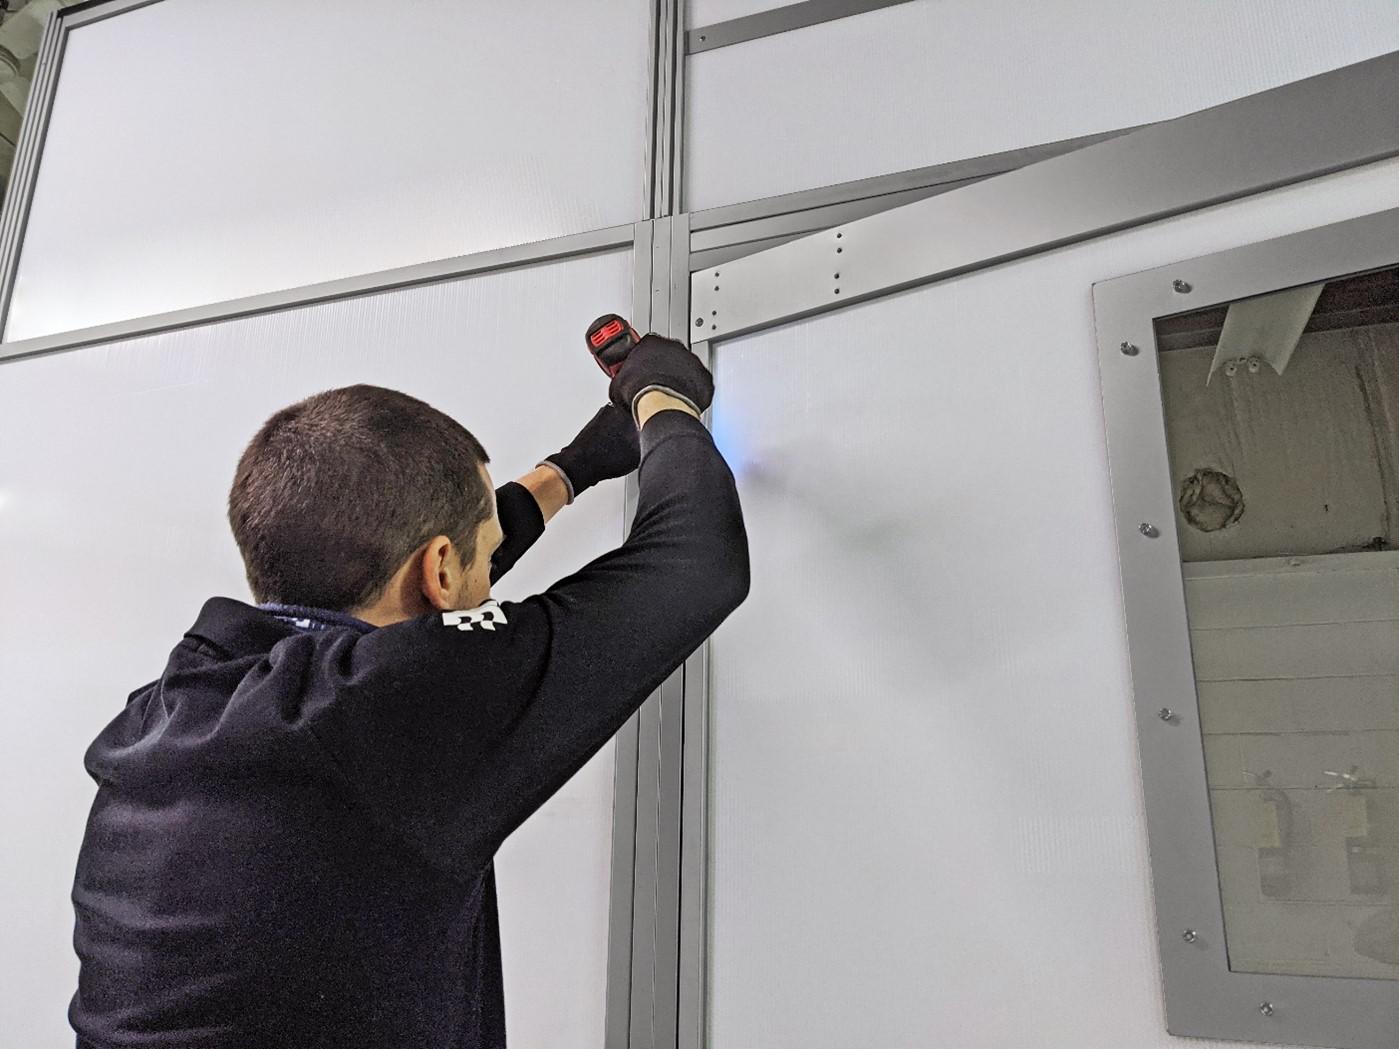
- Acquire and install the appropriate physical barriers and/or temporary walls to contain construction areas. ICRA barriers aren’t necessary for projects that fall under precaution classes I or II, but they are required for classes III, IV, and V. Depending on which class of precaution you’re working with, there will be different ICRA barrier options.
- Plastic Sheeting such as polyethylene, polyvinyl, etc. (Classes III, IV, and V)
- Pros: Inexpensive, easy to install
- Cons: Typically one-use, limited to no sound reduction or privacy, easily tears
- Drywall (Class III and Classes IV and V with special precautions)
- Pros: Can appear more “finished” or permanent, provides some sound reduction, is a familiar material to work with
- Cons: Installation is time- and labor-intensive, creates substantial dust during installation and break-down, can only be used once
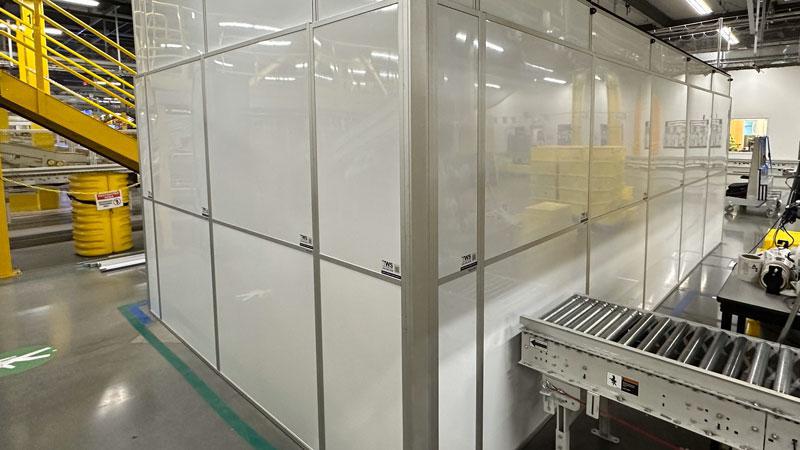
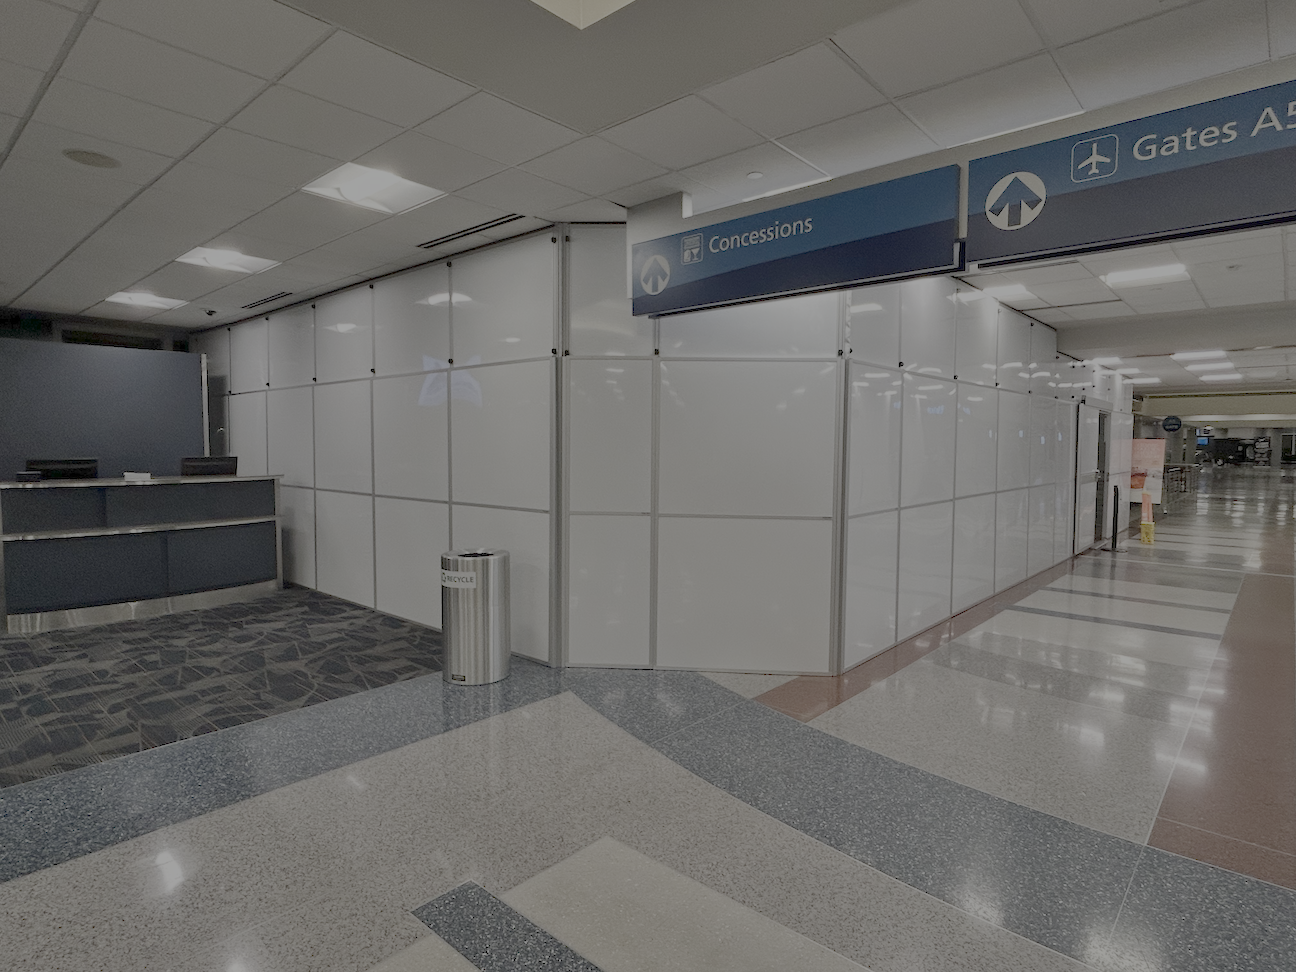
- Modular Wall Systems, or prefabricated panels (Classes III, IV, and V)
- Pros: Can be adjusted to fit any construction space, easily installed, can be reused, provides up to 50 percent sound reduction, practically dust free, can be rented instead of purchased (with installation and break-down included)
- Cons: Depending on the quality of materials, modular wall systems can be more expensive than the other barriers mentioned on this list if purchased rather than rented
- Plastic Sheeting such as polyethylene, polyvinyl, etc. (Classes III, IV, and V)
Step #7: Additional Containment Measures
- Determine which additional containment measures your project requires according to Table 5 of ICRA 2.0. Depending on which precaution class you’re applying, the following containment steps may be necessary (see ICRA 2.0 for complete guidelines):
- Minimize dust generation through wet methods and proper cleaning. (Classes III, IV, and V)
- Use handheld HEPA vacuums to control dust and/or decontaminate clothing. (Classes III, IV, and V)
- Install an adhesive dust-collecting mat at the entrance to the work site and change it regularly. (Classes III, IV, and V)
- Seal off return air diffusers in construction areas to keep dust from entering the HVAC system. (Classes III, IV, and V)
- Implement negative air pressure in construction zones to prevent the spread of contaminants. (Classes IV, and V)
- Use anterooms or staging areas for transitioning between clean and construction zones. (Classes IV and V)
- Use HEPA (High-Efficiency Particulate Air) exhaust air systems directed outdoors to filter the air and maintain negative pressurization of the entire site. (Class IV and V)
- Implement strict protocols to ensure worker clothing is clean and free of visible dust before leaving the construction area. (Classes IV and V)
Step #8: Waste Management
- Establish and implement protocols for waste handling and disposal to prevent cross-contamination.
- Properly dispose of construction debris and waste following ICRA guidelines. Precaution classes III, IV, and V require the following when handling construction waste:
- Keep all trash and debris contained in the work area.
- Carry waste from the work site in smooth, easy-to-clean containers with hard lids. Make sure the containers are wiped clean with a damp cloth and have no visible dust or debris before removing them from the site.
Step #9: Noise and Vibration Control
It’s important to be aware of the sounds and vibrations created during construction as these can disrupt patients and healthcare workers. Below are a few steps you can take to avoid causing undue occupant issues for the facility:
- Schedule loud construction activities during off-peak hours or use an ICRA barrier that provides significant noise reduction, such as a modular wall system.
- Instead of soldering, welding, or brazing, use compression style fittings (where possible).
- Use quieter HEPA vacuums instead of wet/dry vacs.
- Remove flooring with abrasive blasting as opposed to a floor scraper.
For more tips, see the Noise & Vibration Mitigation Strategies section in ICRA 2.0.
Step #10: Monitoring and Surveillance
Even with extensive planning, it’s still possible for containment measures to fail or fall out of practice. To ensure your project meets ICRA guidelines from start to finish, consider doing the following.
- Regularly monitor containment measures, infection control practices, and negative air pressure (if applicable) to ensure all ICRA protocol is being followed correctly.
- Conduct air particulate testing during the work to ensure that contaminants aren’t escaping into occupied spaces.
Step #11: Communication
- Maintain open communication between construction teams and healthcare staff.
- Conduct regular meetings to address concerns and provide updates on the project’s status.
Step #12: Post-Construction Cleaning and Testing
Upon completion of a construction project, it’s important to ensure that the work zone is cleaned and any barriers are disassembled according to ICRA guidelines. Certain precaution classes require additional steps. Below is a simple list of mitigation steps that should be performed upon completion of construction. Detailed guidelines can be found in Table 6 of ICRA 2.0.
- Perform a thorough cleaning of all construction areas. (All classes)
- Clear any accumulated dust from all supply and return air registers. (All classes)
- Remove isolation barriers from the HVAC system and ensure the system is clean and operational. (All classes)
- Keep all ICRA barriers in place during activities that create dust (such as the removal of drywall). (Classes III, IV, and V)
- Maintain negative air pressure in the worksite at all times during construction and for a period after dust-generating work has ceased to ensure the effective removal of contaminants from the work area. This must be done before ICRA barriers are removed. (Classes III, IV, and V)
- Remove ICRA barriers in such a way as to prevent the release of dust. (Classes III, IV, and V)
Step #13: Final Steps Upon Project Completion
- Conduct a final assessment of the construction area to ensure that all infection control measures are properly removed and all post-construction mitigation steps have been completed.
- Collaborate with facility staff to verify that all healthcare services can resume safely.
- Review the ICRA process and identify areas of improvement for future projects.
Exceeding ICRA’s Highest Standards
ICRA has played a critical role in infection risk management since it was introduced over two decades ago. But it’s only effective when applied correctly. The ICRA construction checklist above can help guide you through the process so that you can efficiently and safely complete your next healthcare construction project.
At Temporary Wall Systems, we understand the needs and challenges of an active healthcare renovation or construction site. We’re proud to offer temporary wall systems that exceed Class V requirements and meet the highest standards for infection control, containment, and protection.
TWS makes things easy for you and your team every step of the way. From installation to removal for projects big or small, our experts deliver full-service rentals that meet your unique needs and project goals: Rented. Delivered. Installed. Removed. Contact us for an estimate today.